Your week-by-week pregnancy photo guide: 6 steps to stunning pics
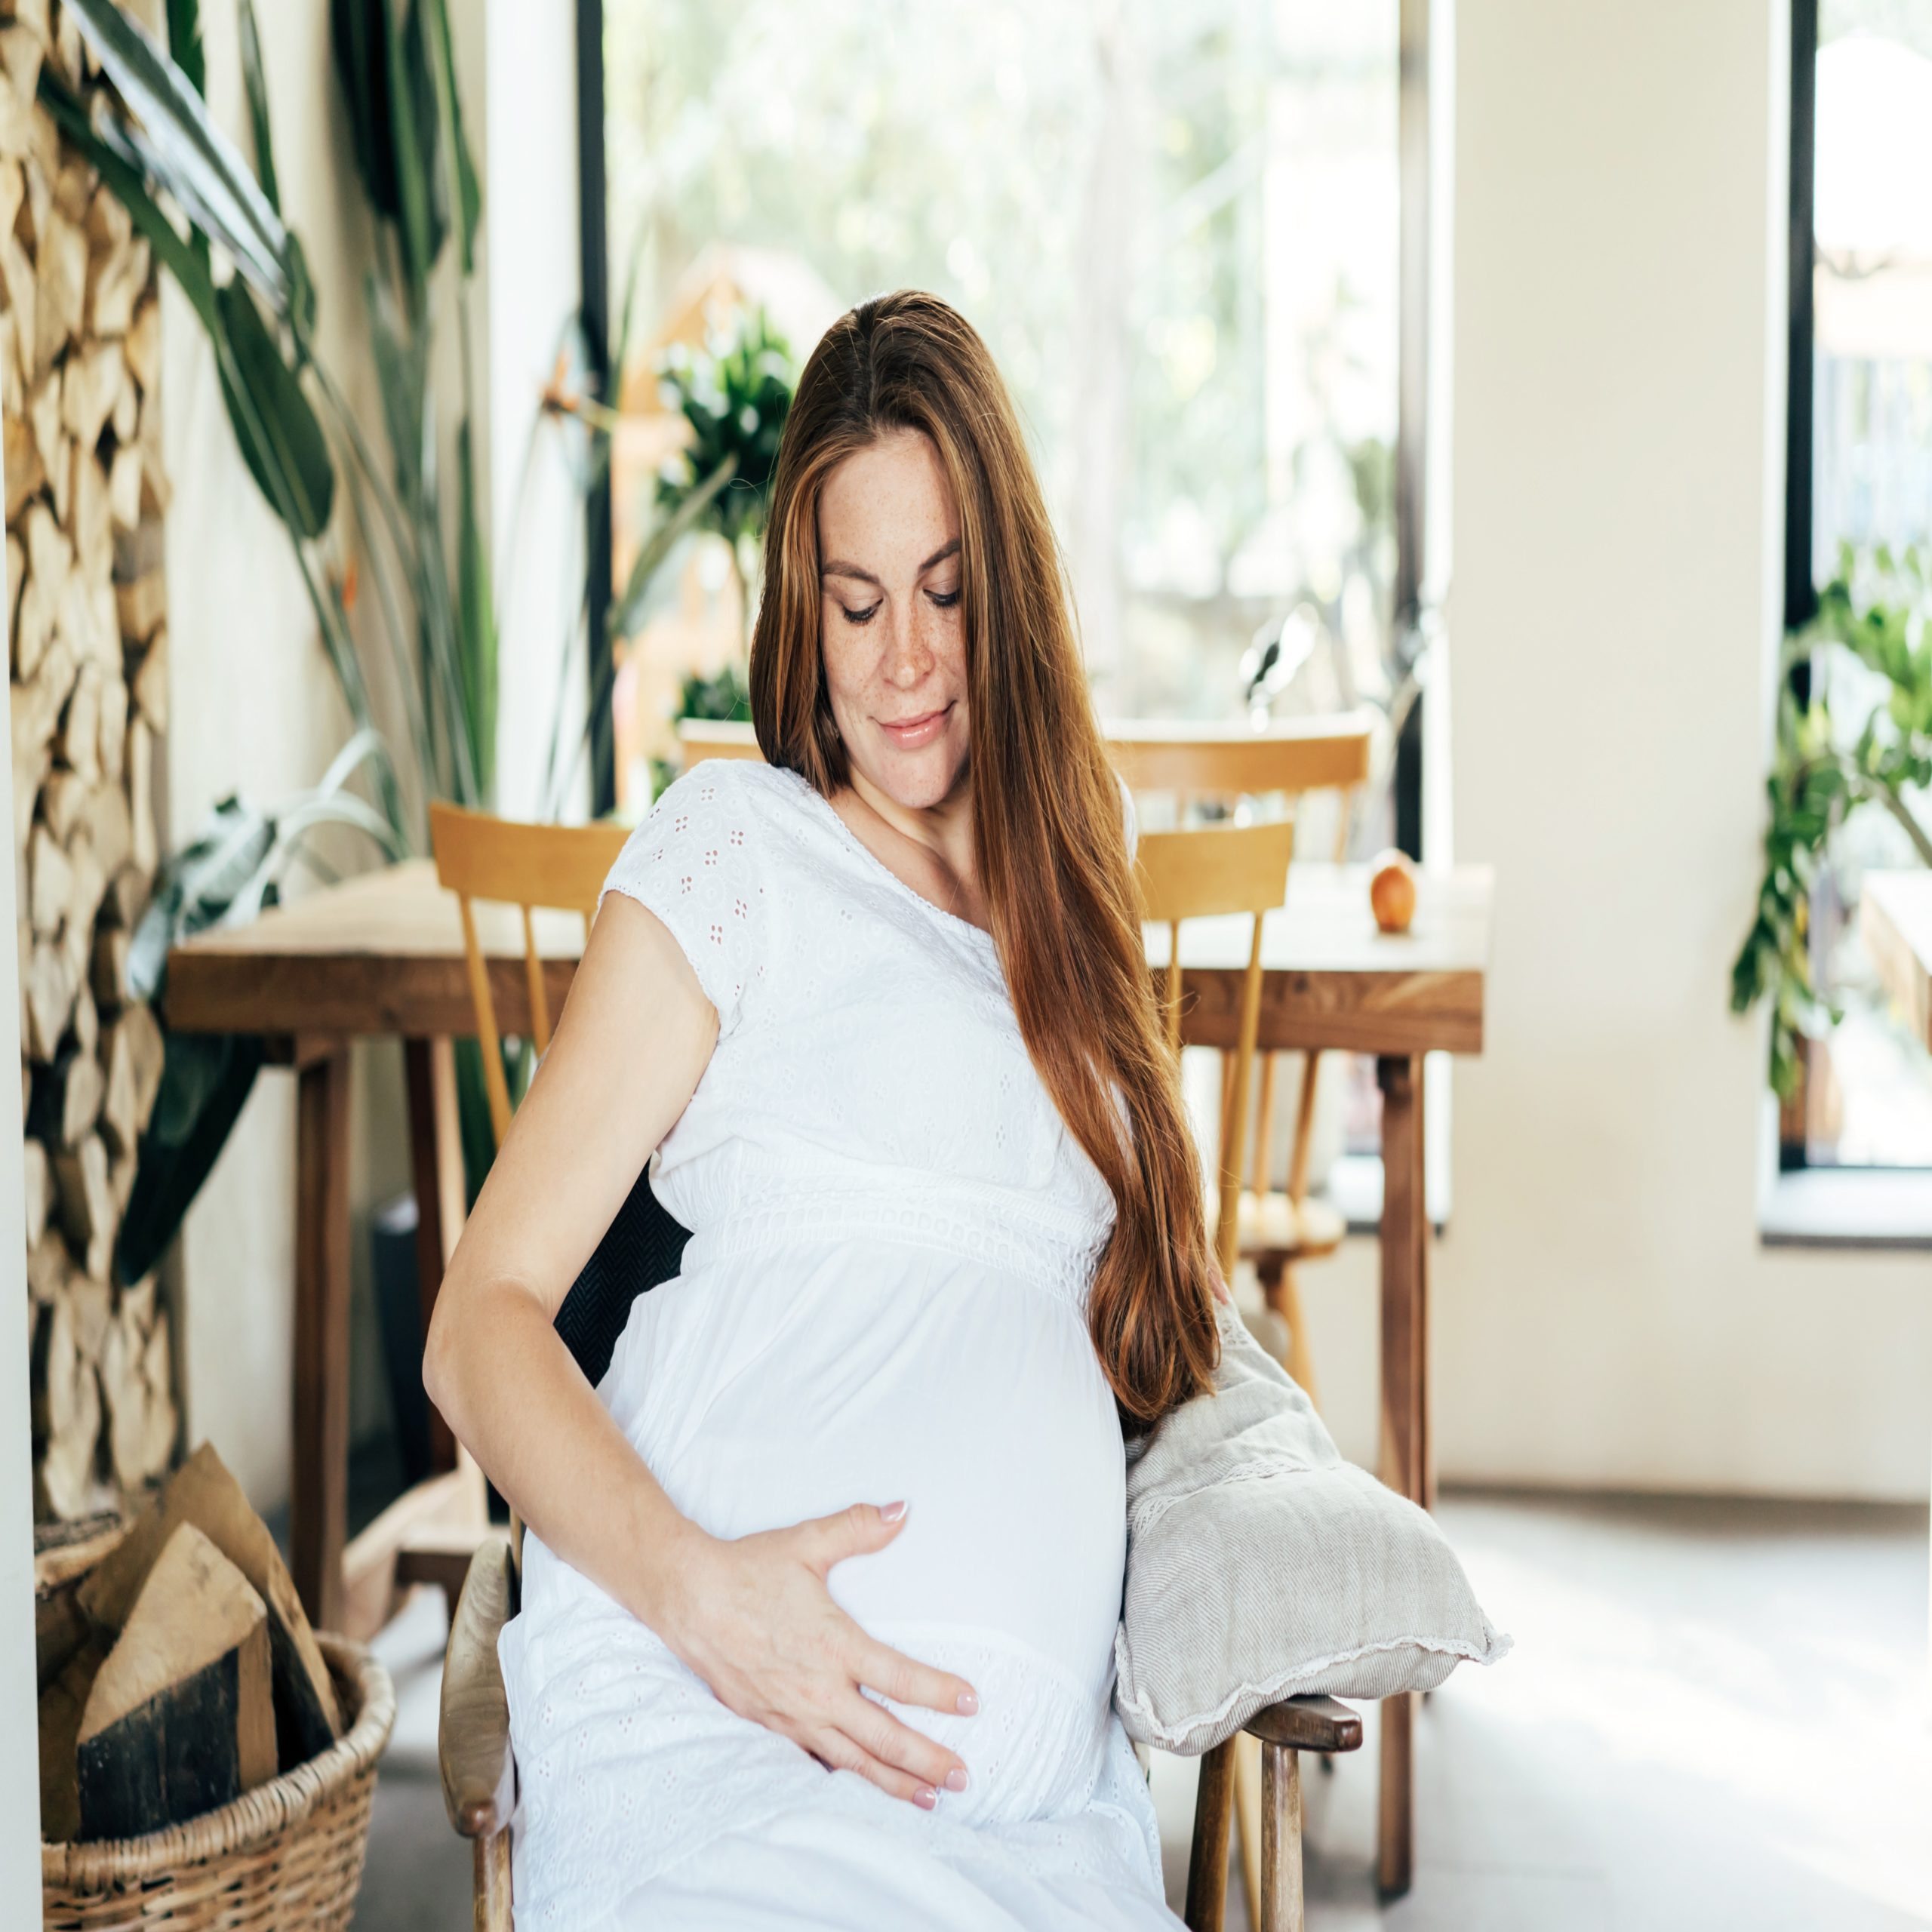
Week-by-week photos of your pregnancy are a great way to capture your growing baby and the amazing changes your body goes through.
If you’re going to capture the changes, let’s make sure you know how to take some amazing pictures.
Looking back at the photos that I took during my pregnancy helps me remember the beautiful moments of feeling my baby move inside of me, the kicks, the hiccups, the amazing hair my prenatal vitamins blessed me with… and to remind myself that my body grew a baby!
So if want to share your growing baby body with all your friends on Facebook, or just capture it for you and your baby, keep reading to learn how to take stunning photos that represent this precious time in your life.
As a professional photographer & new mama, I’ve learned some tricks to capturing those lovely images. Here’s how to take beautiful week-by-week pregnancy photos.
Let in the light.
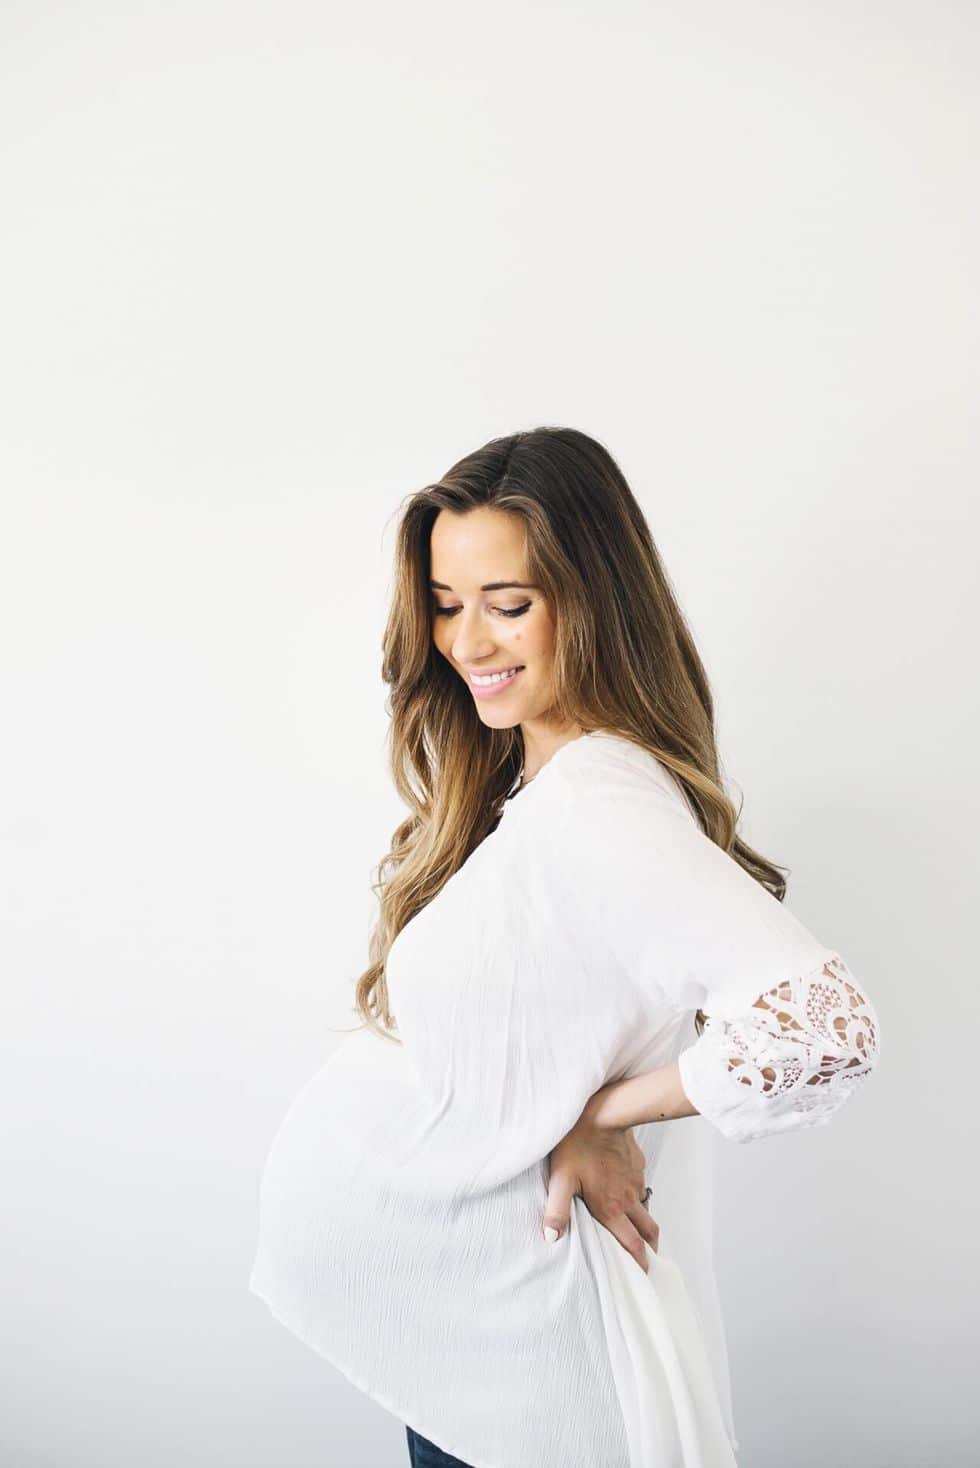
When choosing a place to take your photos, look for a room in your home that brings in a good amount of light. Try a spot near a window, and take these pictures during daytime for the best outcome.
You can also choose to take the photos outside. When taking photos outside, try to avoid harsh sunlight so you’re not squinting or getting drowned in shadows. A place with some shadow is preferable for outside photos. Also keep in mind when taking photos outdoors that you will be taking photos for nine months, which may mean different seasons—so make sure you have a backup plan for not-so-great weather days.
Pro tip: Make sure that your face is facing the light.
Do a background check.
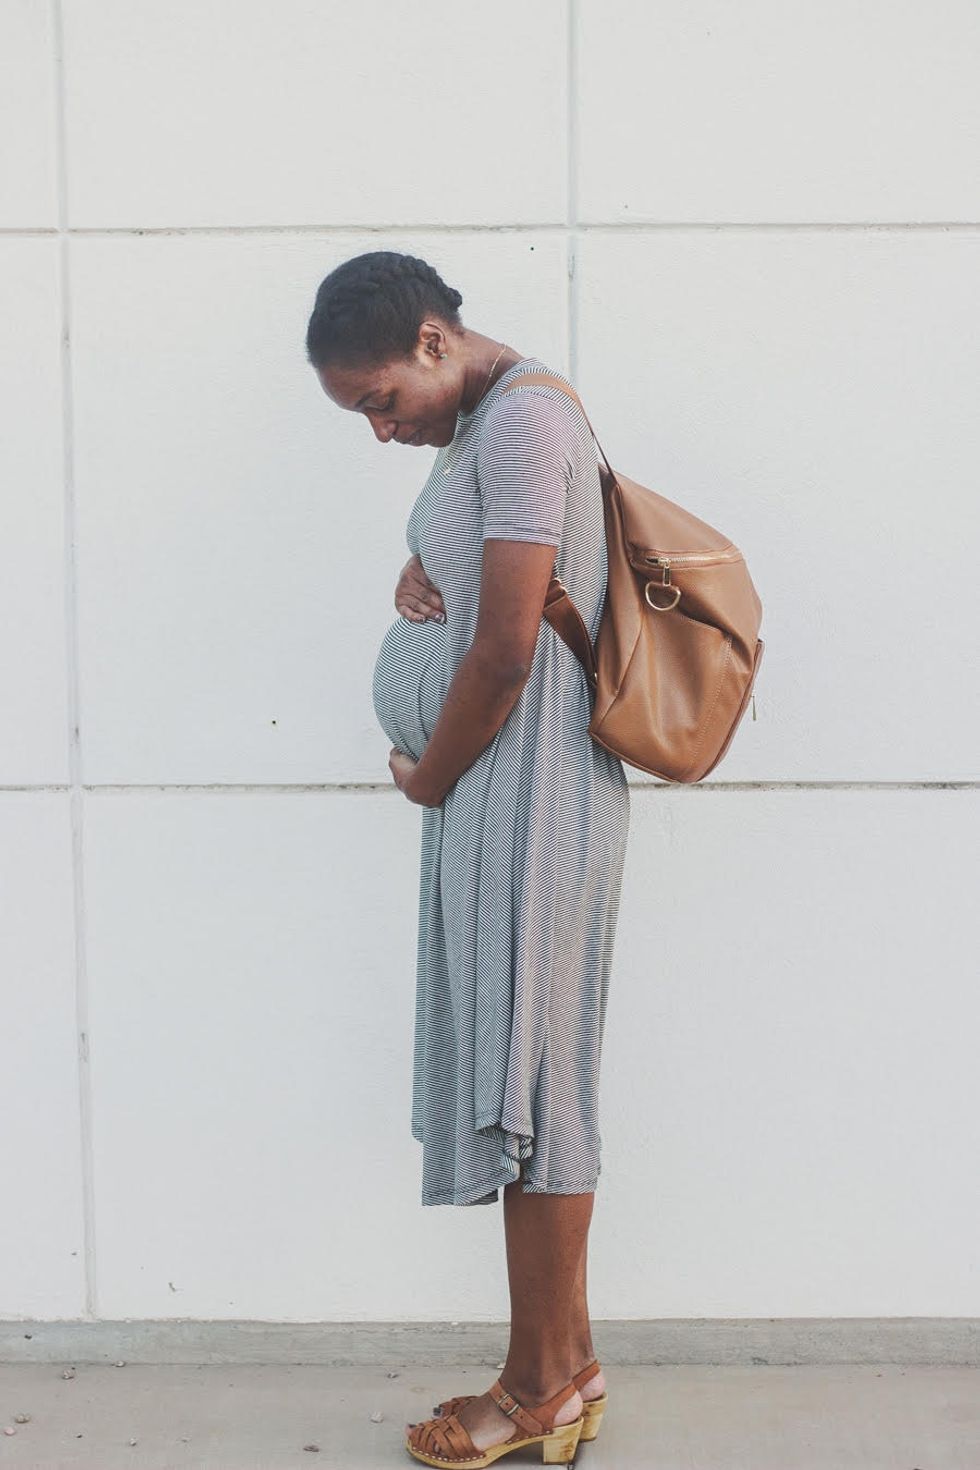
Once you’ve found a well-lit room, or the perfect place outdoors, think about what‘s in the background where you‘ll be taking photos.
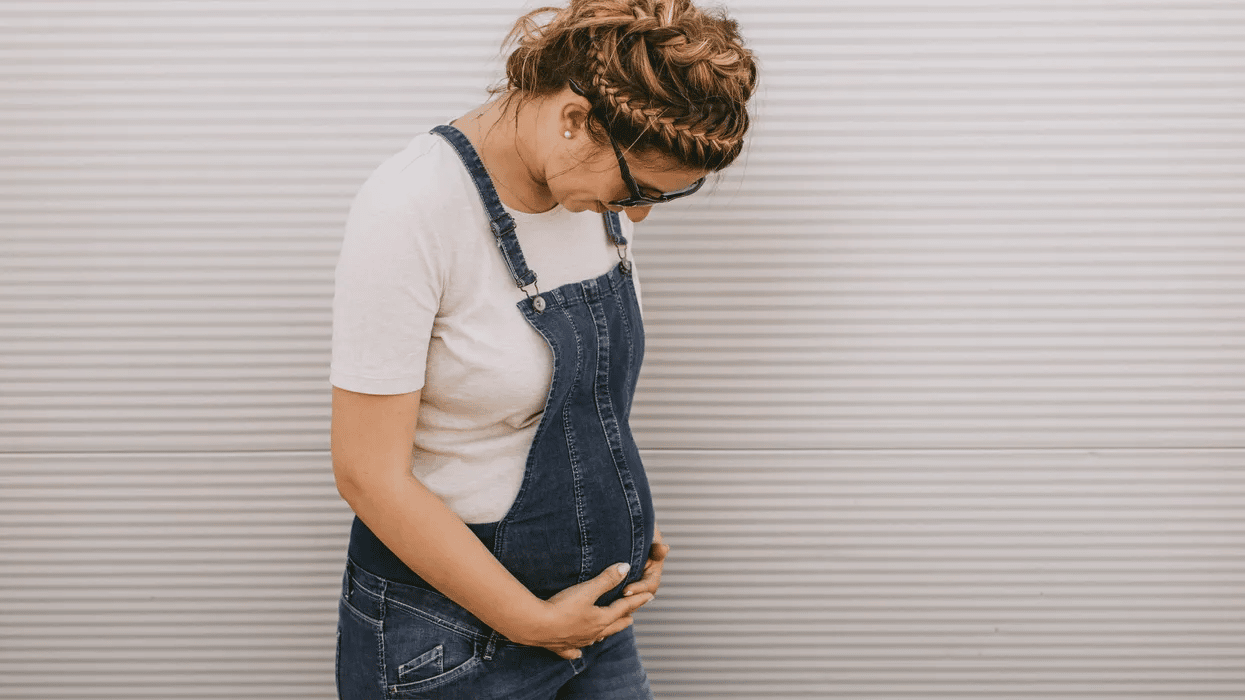
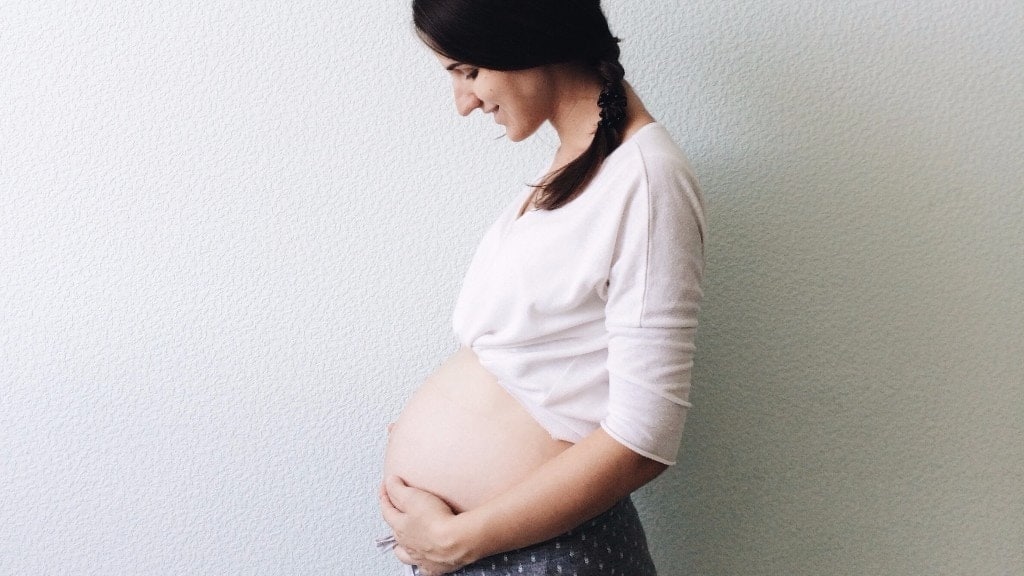
I recommend finding a clean wall. A simple background ensures the focus is on you and your growing belly.
You can give the photo a lot of personality via your outfit or hairstyle, so keep the backdrop simple.
Designate a photographer.
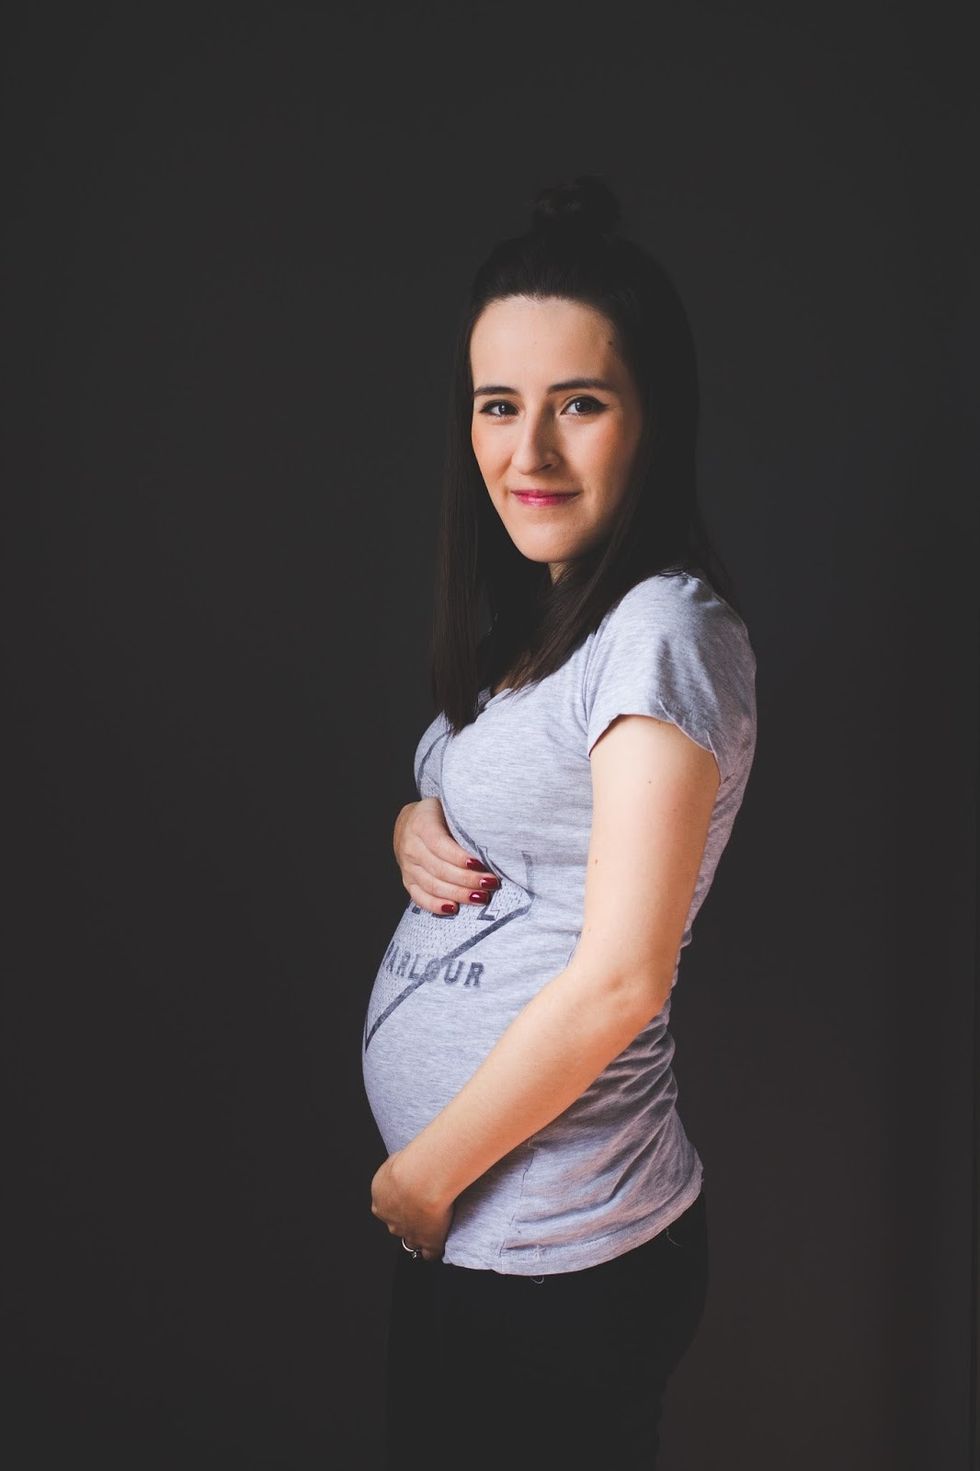
Who will be taking your photos for the next nine months?
Is your partner up for the challenge? Will your mom or friend be behind the lens?
Pro tip: Invest in a tripod. I knew my husband would have taken the photos if I’d asked him to, but since he’s not a photographer I didn’t want to burden him with the task. For my next pregnancy, I will definitely be using my trusty tripod and timer again.
If you’re using your phone, the Acuvar tripod is a great, inexpensive mount you can purchase. If you’re using a point-and-shoot camera, the Precision Design Tripod is a great beginner tripod.
Bonus: Once you have a tripod, you can also use it for taking pictures of you and baby once she is born. ??
What to wear?

Now would be a good time to decide what look you’ll want to rock for these photos.
Do you prefer wearing different looks for each photo? Or will you want to wear the same outfit for every pic?
If you are planning to wear the same outfit, make sure you pick a look that can be worn from early pregnancy all the way until those last days.
I personally recommend a stretchy jersey material dress. These dresses really do accommodate your growing body. When picking one out, keep in mind that your body will keep growing. Buying a bit larger is never a bad idea.
Strike a pose.

Posing for pregnancy photos is all about experimenting with angles.
Take a couple of photos to see what poses show off your bump and flatter your body type. Do you prefer facing perpendicular to the camera, or at a slight angle? If you’re facing sideways, play with how you position your face: Is it better to look directly at your camera, into the distance or at your belly?
Pro tip: I have found that placing one of your legs slightly forward gives most women a better bump angle than standing with the feet next to each other. It also gives the photo a more relaxed look.
Also keep in mind that after a meal your bump will look a bit larger than usual, and that right after waking up your bump will probably be at its smallest point.
Keep it consistent.
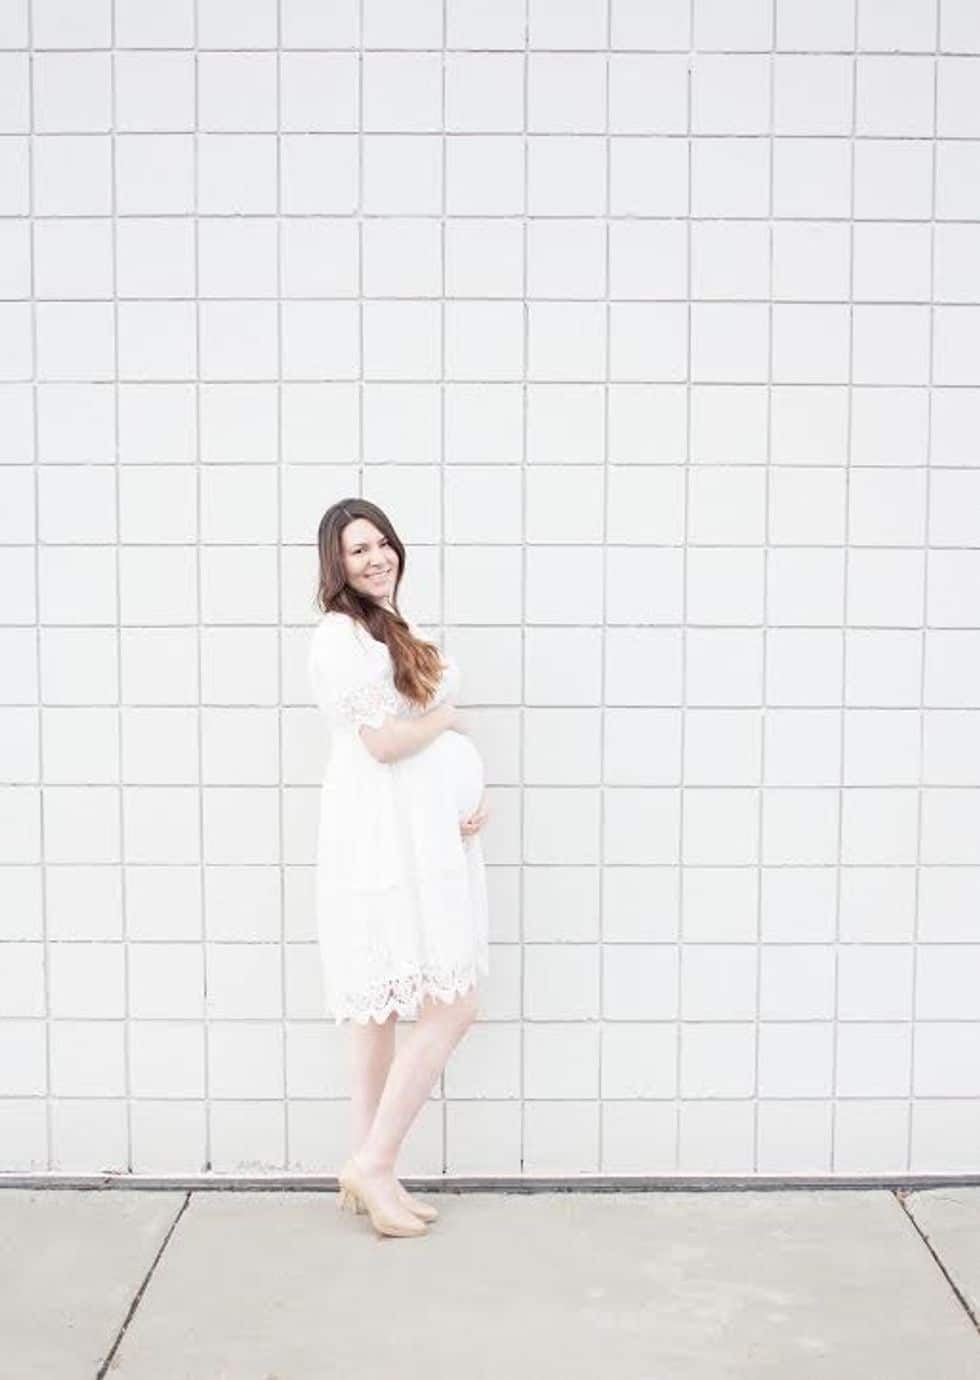
How often do you plan shoot? Are you committed to taking a picture every week? If so, then I recommend setting an alarm on your phone to remind yourself to take each one. If not, take a slightly more relaxed approach by taking a photo every month—you can set a reminder in your calendar for one picture per month.
And if you really want to take some pregnancy photos, but let’s be real, your schedule is way too full and remembering to take photos is just not on your priority list, aim to capture one photo for every trimester and schedule professionally shot maternity photos.
However you do it, by documenting your pregnancy you’ll capture a special memory that you will have for years to come.
More about what to wear for bump photos
Here are some tried-and-true tips on what to wear for bump photos that will ensure you look your best while highlighting your growing belly.
Tip 1: Opt for Form-Fitting Clothes
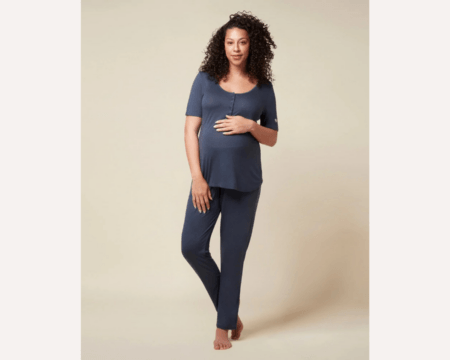
Form-fitting clothes are the best choice when it comes to showcasing your baby bump. These include tight tops, body-con dresses, or maternity leggings. These types of clothes hug your body, accentuating your bump and making it the star of the photo.
Tip 2: Choose Light Colors
Light colors, such as whites or pastels, tend to photograph well. They create a soft, ethereal look that can be very flattering in maternity photos. Plus, they don’t distract from the main focus of the photo – your baby bump.
Tip 3: Select Comfortable Clothes
Comfort should be a priority when choosing what to wear for bump photos. Uncomfortable clothes can make you look and feel awkward, which can show in the photos. Choose clothes that allow you to move freely and feel at ease.
Tip 4: Consider Your Undergarments
Undergarments can affect the look and fit of your clothes. Choose seamless bras and undies that won’t create visible lines under your clothes.
Additional Considerations for Bump Photoshoots
Aside from choosing the perfect outfit, there are other factors to consider to ensure your bump photos turn out beautifully.
Consideration 1: The Background
Choose a clean, clear background for your photos. This will ensure that the focus is solely on you and your bump. Try to use the same spot for each photo to maintain consistency.
Consideration 2: The Pose
Choose a pose that feels natural and comfortable for you. The pose should also effectively showcase your bump. You might want to try a few different poses to see which one works best for you.
Consideration 3: The Lighting
Natural light usually results in the best photos. It creates even skin tones and avoids harsh shadows. Try to schedule your photo sessions during the morning or late afternoon when the natural light is most flattering.
Consideration 4: The Frequency
Decide on a frequency for your bump photos. Would you like weekly photos, or would monthly photos work better for you? Having a set schedule can help to ensure you don’t miss any opportunities to document your growing bump.
Frequently Asked Questions
What do you wear to bump progress photos?
Opt for something comfy yet form-fitting, like a stretchy jersey dress or a fitted top with leggings. The key is to wear something that hugs your curves and showcases your beautiful growing bump!
How do you take flattering bump pictures?
Find natural light and stand at a slight angle to the camera. Try placing one hand above your belly and one below, cradling your bump. Remember, mama, it’s all about celebrating your body’s incredible journey!
How should I dress for a baby bump?
Wear clothes that make you feel confident and comfortable. Stretchy, body-hugging items work wonders for showing off that bump. Bright colors or patterns can also add a fun element to your photos.
How do you pose for a bump photo?
Stand sideways with one foot slightly in front of the other to give your body a nice curve. Experiment with different hand placements on your bump until you find one that feels natural and shows off your shape best.
When should you start taking bump pics?
Whenever you feel ready, mama! Some start as early as the first trimester, but it’s also common to begin when your bump becomes more noticeable in the second trimester.
What is the most flattering pose for a pregnant woman?
A side pose with your hands gently cradling your bump creates a natural, loving look. Tilt your head slightly towards the camera and smile to capture that maternal glow.
What does a 1-week pregnant belly look like?
At one week, there’s no visible bump yet, as your baby is still a tiny speck. But it’s the start of an amazing journey, so feel free to snap a picture to mark the beginning!
How often should you take bump pictures?
It’s up to you, lovely! Some take weekly photos to document every little change, while others opt for monthly pictures. Choose what feels right for you and your schedule.
What does a 2-month pregnant belly look like?
Every woman’s body is different, but at two months, you might start to see a small change. Your belly may be a bit fuller, but it’s still early days. Capture this moment as the start of something beautiful.
